L I V I N G
Cycling in Tokyo — Bike-Share Apps, Rules & Best Routes (2026)
Start with HELLO CYCLING or Docomo Bike Share in minutes. Compare prices, learn the 2026 blue-ticket rules, and ride the Imperial Palace loop or Rainbow Bridge route.
Cycling Around Tokyo

Tokyo is a great city to explore by bike. What I enjoy most is cycling late at night — grabbing a shared bike to catch the cool night breeze, riding through the office districts where streets that are packed with people during the day are completely empty. There’s something almost surreal about it. Head toward the entertainment areas, though, and it’s still buzzing with crowds even past midnight. Late-night Tokyo feels like a different city entirely from what you see during the day.
Here are a few recommended routes.
| Route | Distance | Time | Best time to ride |
|---|---|---|---|
| Imperial Palace loop (Kōkyo) | ~5 km | ~30 min | Early morning or evening. On Sundays, “Palace Cycling” closes ~3 km between Iwaidabashi and Hirakawa-mon to car traffic for cyclists |
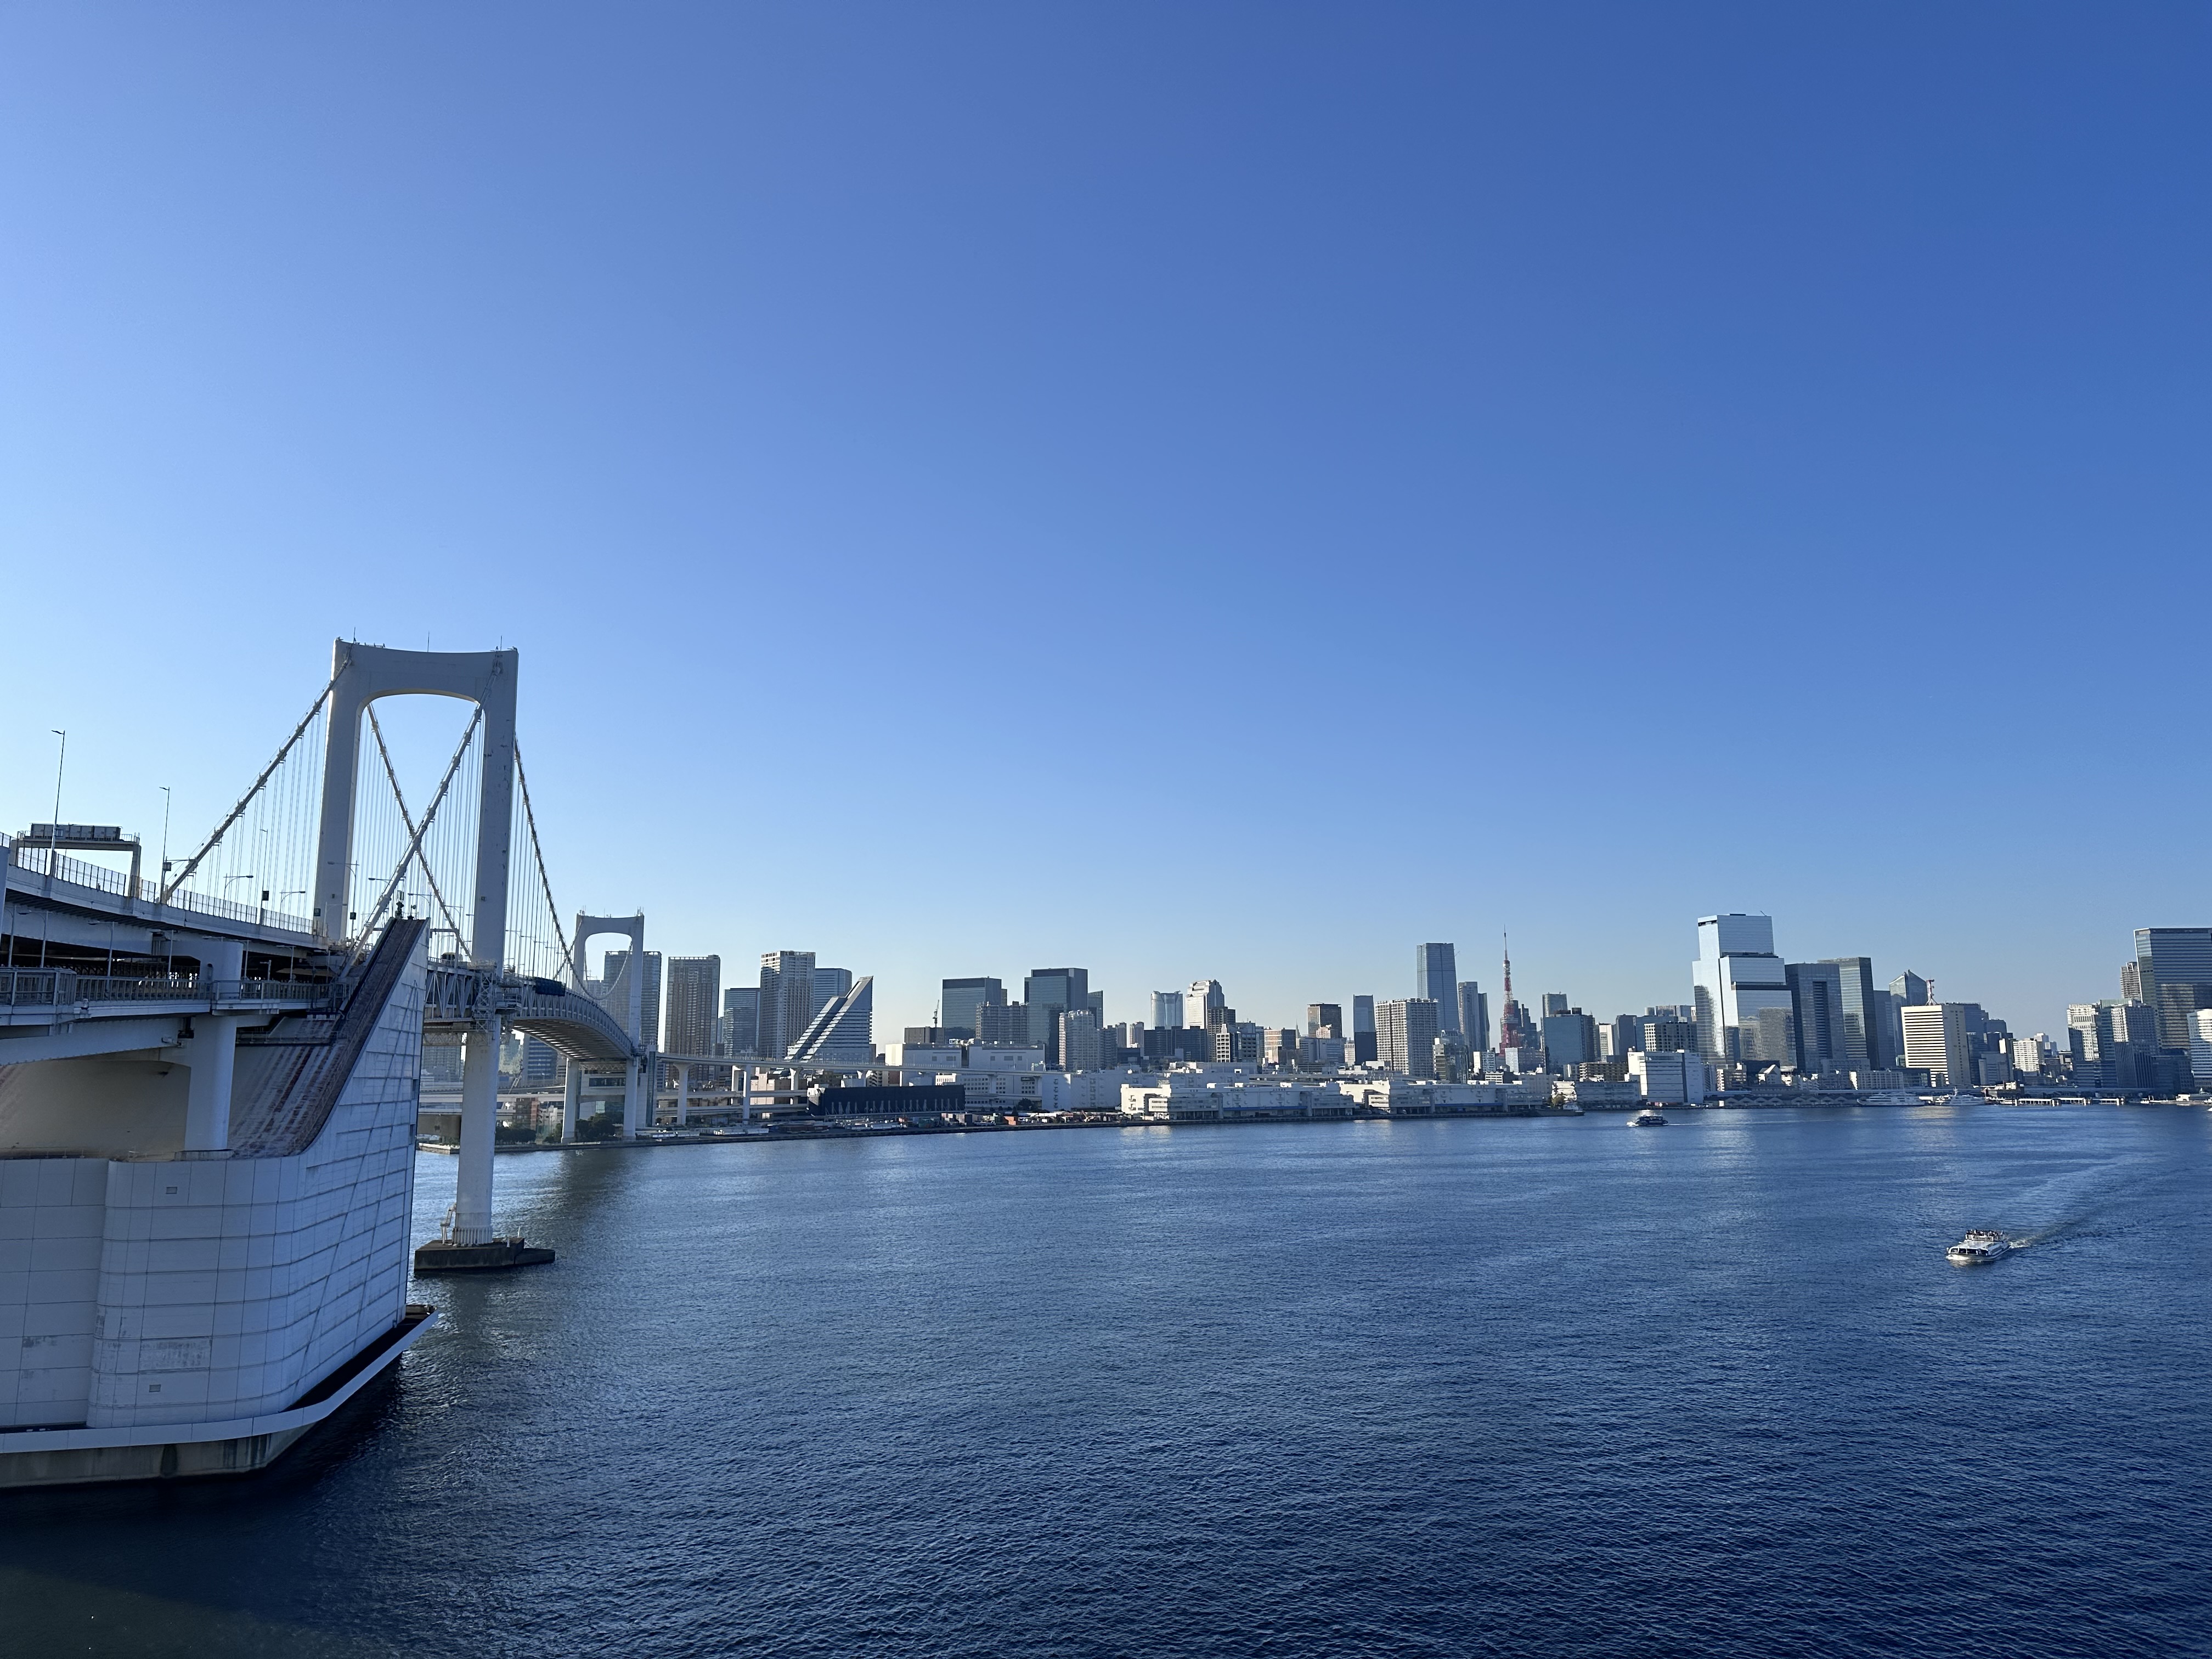
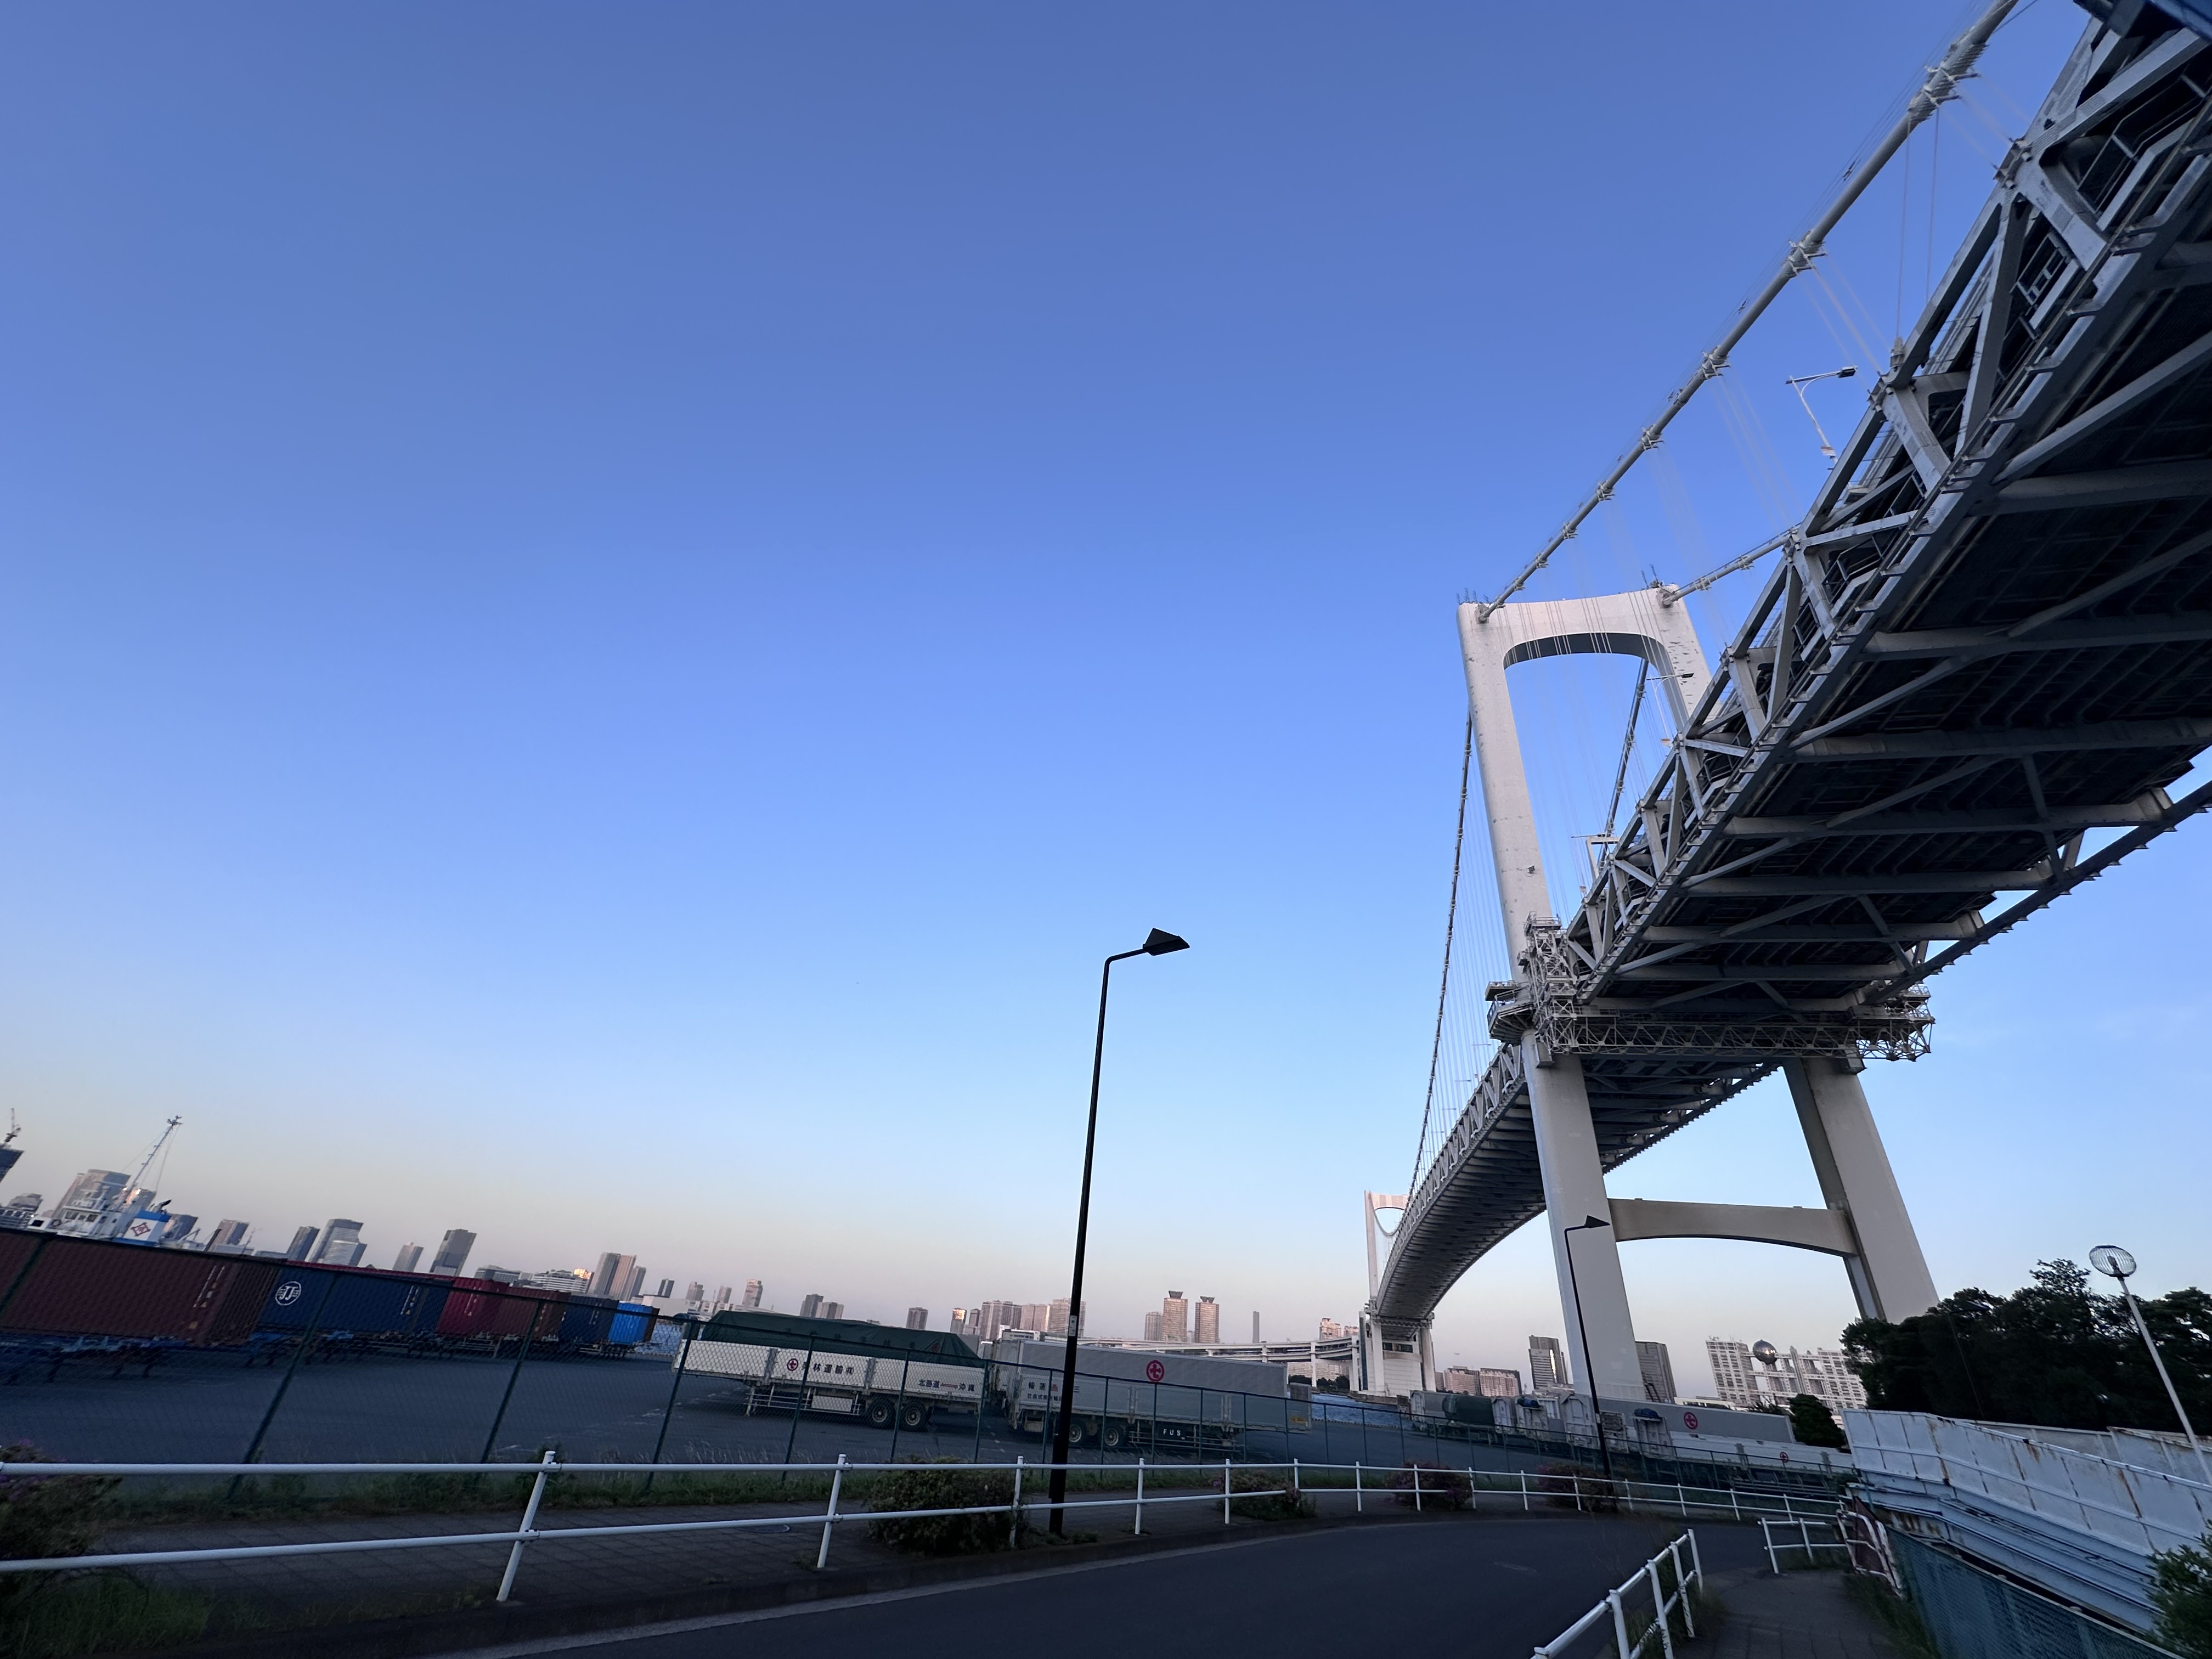
| Shinagawa to Odaiba (via Rainbow Bridge) | ~6 km | ~40 min | Evening to night — enjoy the waterfront skyline |
| Along the Sumida River (Asakusa to Ryōgoku) | ~4 km | ~25 min | Morning. Ride with views of Tokyo Skytree and Sensō-ji |
If you’re visiting, you can start right away with bike-sharing (jump to Using bike-sharing). If you’re a resident planning to buy a bicycle, also check What to do after buying a bicycle.
Getting a Bicycle
Using bike-sharing
You don’t need to buy a bicycle — bike-sharing services make it easy to get started. I often grab one mid-walk when I feel like going a bit farther. Like the time I was strolling around Shinagawa and decided to ride out to Odaiba on a whim, or when the evening air felt so nice after a walk near Kōrakuen that I cycled home instead.
Prices are as of April 2026. Check each service’s official site for current rates.
| Service | Base rate | Day pass | Bike type | Unlock method |
|---|---|---|---|---|
| HELLO CYCLING | ¥160~/30 min (city type; sport type ¥200~/30 min) | ¥2,500/12 hrs | Mamachari & sport (all electric-assist) | App / IC card |
| Docomo Bike Share | ¥165/30 min | ¥1,650 | Compact small-wheel (all electric-assist) | QR / passcode / IC card |
| LUUP | Base ¥50 + ¥20/min (Tokyo; rates vary by time) | 3 hrs ¥980 / 12 hrs ¥2,480 (check availability on official site) | Compact e-bike + electric kick scooter | Bluetooth / QR code |
All three services have electric-assist bikes, so hills are no problem. The apps for HELLO CYCLING, Docomo Bike Share, and LUUP all support English.
I’ve used all three, and honestly the core experience — renting, returning, paying — feels about the same. Where they differ is bike design and how you unlock. HELLO CYCLING and Docomo Bike Share let you register an IC card (Suica, PASMO, etc.) so you can just tap to unlock without pulling out your phone. The initial IC card registration was a bit fiddly, but once it’s set up, the convenience is worth it.
For seat height: Docomo Bike Share and LUUP have quick-release levers for easy adjustment. HELLO CYCLING has a safety stopper mechanism, so the adjustment range is more limited.
How to use bike-sharing
The basic flow is the same across all services.
- Download the app and create an account (email + phone number)
- Register a credit card (Docomo Bike Share also accepts d-barai payment)
- Find a nearby station on the app’s map
- Select a bike and unlock (via app button / QR code / IC card)
- Return to any station and lock the bike when you’re done
If you want to ride a LUUP electric kick scooter, you’ll need to pass a traffic rules test within the app first.
Visa and Mastercard issued outside Japan work for registration. Your phone number doesn’t need to be Japanese — any number that can receive SMS will do. All three apps switch to English, so you can use them without knowing Japanese.
Buying new
Cycle Base Asahi (Saikuru Bēsu Asahi) is a major chain with stores nationwide, offering affordable city bikes (known as mamachari). Don Quijote (Donki) and home improvement stores like Cainz also carry bicycles.
Buying used
On Mercari, you can find used bicycles for around ¥3,000–10,000. Recycle shops (risaikuru shoppu) offer similar prices.
When buying used, make sure the previous owner provides their Bōhan Tōroku card (bicycle registration card) or a jōto shōmeisho (transfer certificate). Without one of these, you can’t register the bike under your name. Always confirm before purchasing.
Bike-sharing vs. buying — which is cheaper?
| Usage frequency | Bike-sharing (HELLO CYCLING, 30 min × 2 rides/day) | Buying (used) |
|---|---|---|
| 1 week (visitors) | ~¥2,240 | — |
| 1 month | ~¥9,600 | ~¥7,430 (bike ¥5,000 + registration ¥660 + insurance ¥1,770) |
| 3 months | ~¥28,800 | Same as above |
If you ride daily, buying breaks even within a month. A few times a week? Bike-sharing is plenty. For visitors, Docomo Bike Share’s 1-day pass (¥1,650) is a solid deal — you can even buy it at 7-Eleven or FamilyMart.
What to Do After Buying a Bicycle
Bōhan Tōroku (bicycle registration)
Once you have a bicycle, your first step is Bōhan Tōroku (bicycle registration). It’s required by law.
| Item | Details |
|---|---|
| Registration fee | ¥660 (tax-exempt) |
| Validity | 10 years from the year after registration |
| Where to register | Bike shops displaying the “Jitensha Bōhan Tōrokusho” sign |
| What to bring | Residence card (Zairyū Kādo) + the bicycle |
After registration, an orange sticker is placed on the frame and your details are entered into a police database. This helps recover stolen bikes and verify ownership during routine police checks (shokumu jinmon).
Keep the registration card. You’ll need it for address changes, transfers, and theft reports — and it cannot be reissued.
Bicycle insurance
Under a Tokyo metropolitan ordinance, anyone cycling in Tokyo must carry liability insurance (effective April 2020). Accident compensation claims can run into tens of millions of yen, so getting insured is well worth it.
| Insurance | Annual cost | Notes |
|---|---|---|
| Japan Traffic Safety Association “Cycle Anshin Hoken” | From ¥1,770 | Online sign-up, same-day coverage |
| au Sonpo “Bycle” | From ¥340/month (¥4,080/year) | Includes bicycle roadside assistance |
| Rakuten Sonpo “Cycle Assist” | From ¥3,000 | Rakuten Points eligible |
All can be purchased online with a credit card. The sites are in Japanese only, but browser translation works fine for the sign-up process. Another option is adding a “personal liability rider” (kojin baishō sekinin tokuyaku) to your existing home or auto insurance. You can find a list of approved insurers on the Tokyo Metropolitan Government’s page.
Traffic Rules and the Blue-Ticket System
Basic rules
- Ride on the left side of the road — sidewalk riding is allowed only in limited exceptions
- Front light, rear reflector, and a bell are mandatory
- Wearing a helmet is an “effort obligation” (doryoku gimu) since April 2023 — not technically enforced, but strongly recommended given the risk of head injuries
- No riding double (exception: a pre-school-age child in a proper child seat; helmets for children are a parental effort obligation; bike-sharing bikes don’t have child seats, so families will need to buy a bicycle)
Things you must not do
- Using your smartphone while riding (nagara unten — distracted cycling)
- Cycling under the influence of alcohol
- Riding with an umbrella
- Wearing earphones and listening to music
Since November 2024, penalties for distracted cycling and cycling under the influence have been significantly toughened. Smartphone use while riding carries up to 6 months’ imprisonment or a fine of up to ¥100,000. Cycling under the influence carries up to 3 years’ imprisonment or a fine of up to ¥500,000.
The blue-ticket system (April 2026~)
From April 1, 2026, cyclists aged 16 and older are subject to the Kōtsū Hansoku Tsūkoku Seido (traffic violation notification system), commonly known as the “blue ticket” (ao-kippu) system. Previously, all bicycle traffic violations were handled as criminal offenses. Under the new system, minor violations can be resolved by paying a fixed fine (hansokkin). This also means everyday infractions like running red lights or using your phone while riding are now easier to enforce.
For fine amounts, see the National Police Agency’s official page.
Bicycle Parking
Municipal bicycle parking (chūrinjo) near train stations costs roughly ¥500–2,600/month, varying by ward and location. Sign up at the parking facility’s management office, or in some cases through the ward’s online application system. For short stops, most bicycle parking lots offer the first 1–2 hours free, so a quick shopping trip won’t cost you anything.
Leaving your bike on the street will get it impounded (tetsukyo), so always use designated parking. If you’re moving apartments, don’t forget to check the building’s bicycle parking availability as well.
Dealing with Impoundment and Theft
If your bike is impounded: A notice is posted at the location where the bike was parked, listing the impound lot and how to retrieve it. Bring photo ID and the retrieval fee to the impound lot to get your bike back.
If your bike is stolen: File a theft report (tōnan todoke) at the nearest kōban (police box). You’ll need your Bōhan Tōroku number, so keep a record of the number from your registration card or the sticker on your frame.
Related Guides
- What to Do Within 14 Days of Moving to Tokyo — Ward office procedures guide
- How to Buy and Use a Suica Card — Also useful for registering IC cards with bike-sharing
- Payment Methods in Tokyo — How to use credit cards, e-money, and more
- Comparing Tokyo’s 23 Special Wards — Helpful for choosing a bike-commute-friendly area
- What to Do When You Miss the Last Train — Late-night bike-sharing as an option
References:
- Tokyo Metropolitan Police “Bicycle Crime Prevention Registration” https://www.keishicho.metro.tokyo.lg.jp/kurashi/higai/guard/bicycle.html (accessed 2026-03-27)
- Tokyo Metropolitan Government “Bicycle Ordinance” https://www.tomin-anzen.metro.tokyo.lg.jp/kotsu/jitensha/seisaku-jyourei/jitensha-jourei (accessed 2026-03-27)
- Tokyo Metropolitan Police “Helmet Wearing” https://www.keishicho.metro.tokyo.lg.jp/kotsu/jikoboshi/bicycle/menu/helmet.html (accessed 2026-03-27)
- Tokyo Metropolitan Police “Bicycle Law Revisions” https://www.keishicho.metro.tokyo.lg.jp/kotsu/jikoboshi/bicycle/cycle_kaisei.html (accessed 2026-03-27)
- National Police Agency “Bicycle Traffic Violation Notification System” https://www.npa.go.jp/bureau/traffic/bicycle/portal/system.html (accessed 2026-03-27)
- Government Public Relations Online “Blue Tickets Introduced for Bicycle Traffic Violations” https://www.gov-online.go.jp/article/202410/entry-6604.html (accessed 2026-04-14)
- Tokyo Metropolitan Police “Five Rules for Safe Bicycle Use” https://www.keishicho.metro.tokyo.lg.jp/kotsu/jikoboshi/bicycle/menu/five_rule/ (accessed 2026-03-29)
- Tokyo Metropolitan Police “Bicycle Traffic Rules” https://www.keishicho.metro.tokyo.lg.jp/kotsu/jikoboshi/bicycle/rule.html (accessed 2026-04-14)
- Tokyo Metropolitan Government “Bicycle Liability Insurance Providers” https://www.tomin-anzen.metro.tokyo.lg.jp/kotsu/jitensha/seisaku-jyourei/jitensha-jourei/0000001924 (accessed 2026-03-29)
- Tokyo Metropolitan Government “Abandoned Bicycle Measures” https://www.tomin-anzen.metro.tokyo.lg.jp/kotsu/jitensha/houchi (accessed 2026-03-29)
- Tokyo Metropolitan Police “Bicycle Theft Prevention” https://www.keishicho.metro.tokyo.lg.jp/kurashi/higai/guard/bicycle_bohan.html (accessed 2026-03-29)
- HELLO CYCLING “Pricing (Tokyo)” https://www.hellocycling.jp/price/tokyo (accessed 2026-04-14)
- Docomo Bike Share “Pricing (Tokyo Wide Area)” https://docomo-cycle.jp/tokyo/price (accessed 2026-04-14)
- LUUP “Pricing” https://support.luup.sc/hc/en-us/articles/360051196234 (accessed 2026-04-14)
- Japan Traffic Safety Association “Cycle Anshin Insurance” https://jitensha-anshin.com/plan/ (accessed 2026-04-14)
- au Sonpo “Bycle” https://www.au-sonpo.co.jp/pc/bycle/ (accessed 2026-04-14)
- Kita Ward “Bicycle Parking Fee Schedule” https://www.city.kita.lg.jp/living/transport/1002481/1002486.html (accessed 2026-04-14)
- Tokyo Metropolitan Government “Recommended Cycling Route: Imperial Palace Loop” https://www.toshiseibi.metro.tokyo.lg.jp/kotsu_butsuryu/kotsuseisaku/kotsu_suishin/osusume_route/route_ichiran/kokyo (accessed 2026-04-14)
* This article was translated from the original Japanese with the help of machine translation. Some expressions may not read naturally.

![How to Rent an Apartment in Tokyo as a Foreigner [Costs, Guarantor, UR]](https://images.unsplash.com/photo-1480796927426-f609979314bd?w=1920&q=80&fm=webp&w=400&q=60)


